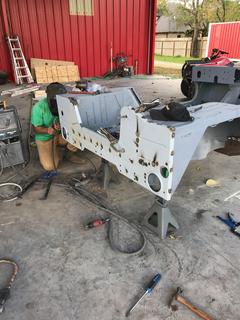
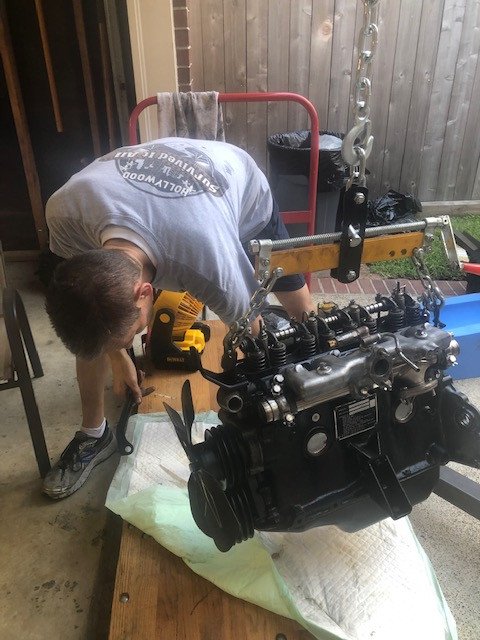
Feeling up to a bit of self-abuse, I decided to install the -25 hot water heater kit on the Jeep. There was a unit in the Jeep when I bought it, but during the tear down I realized that all the hoses were shot, all of the electrical parts were missing, and neither of the hot air distribution boxes were in great shape either. So I bit the bullet and bought an NOS kit to have enough bits and pieces to complete the installation.


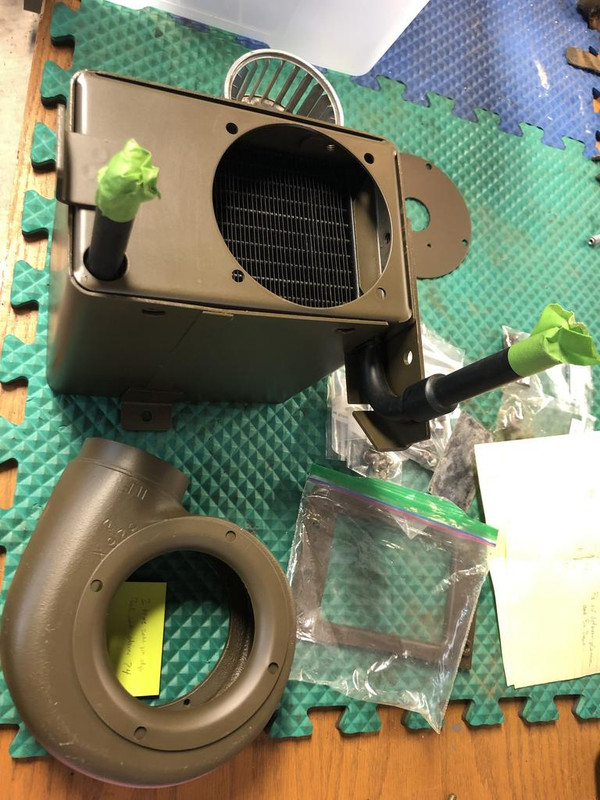
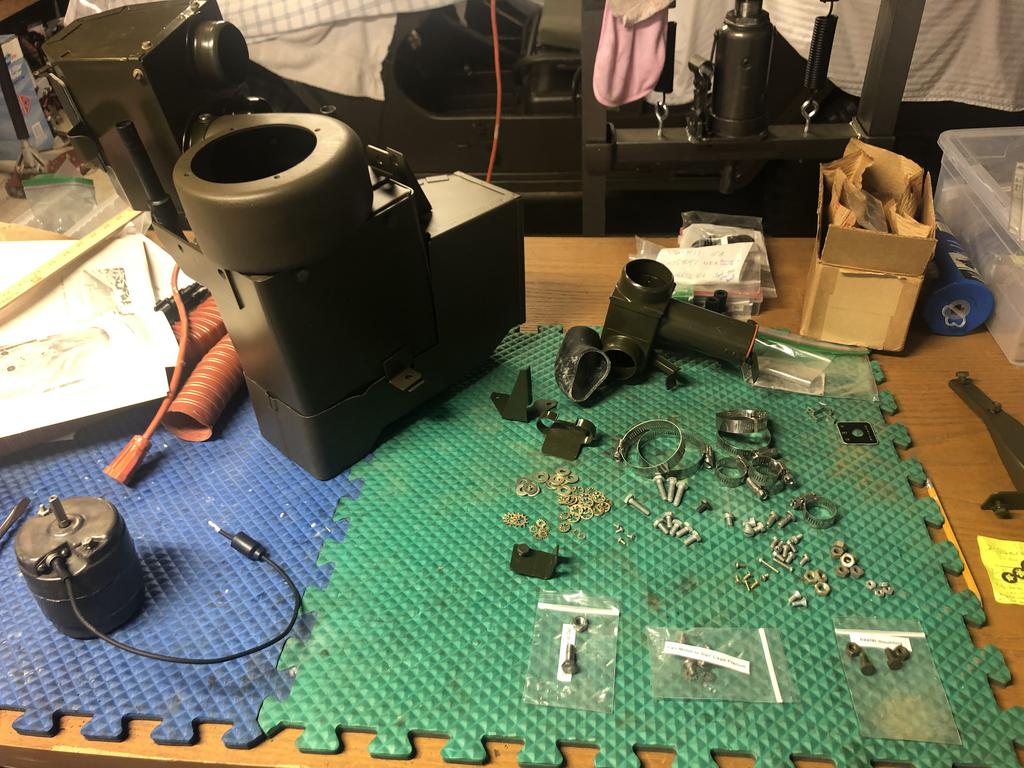
I was shocked at how well the kit had weathered the years.
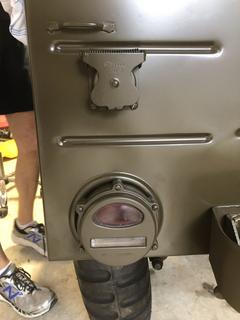
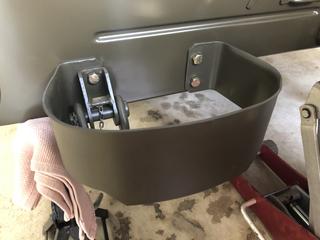
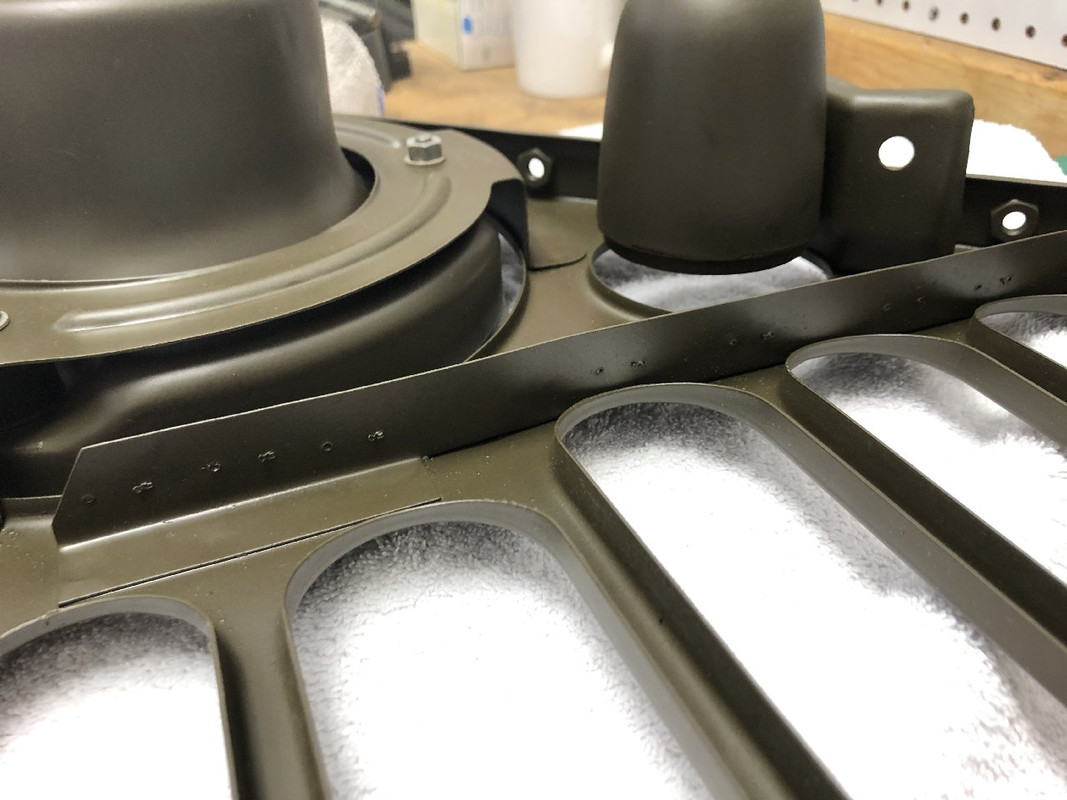
My original blower motor worked ok when I tested it and the heater core tested out fine at the radiator shop, so I stripped and refinished these parts and didn't have to use those from the NOS kit.

For the assembly, I started by reading all the postings on this site and picked up several pearls.
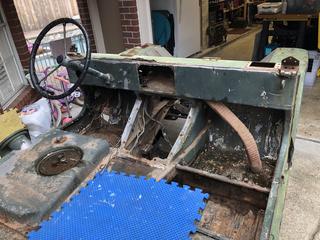
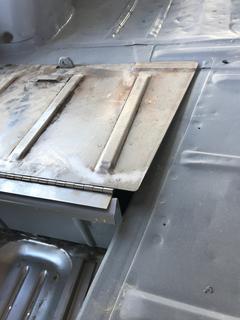
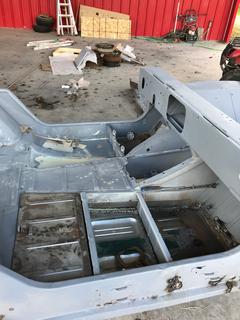
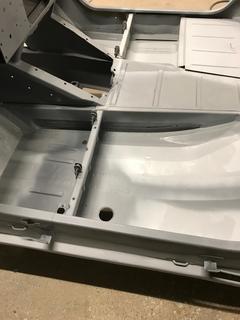
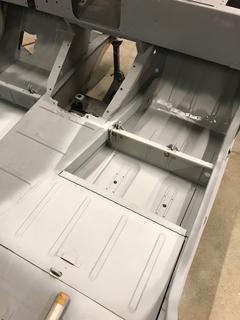
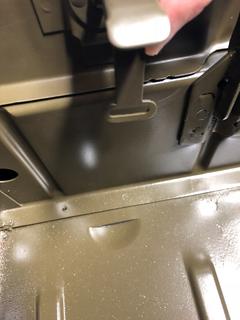
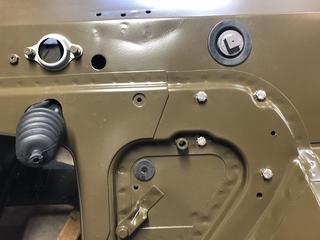
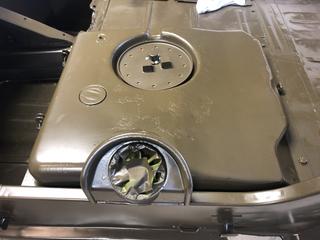
I ended up just mounting the core to the air intake box and connecting this to the air intake on the cowl for the purposes of locating and drilling the holes in the dash lip and the passenger floorboard. I didn't trust the measurements given in the manual.
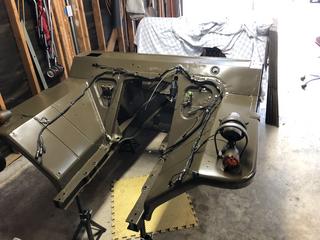
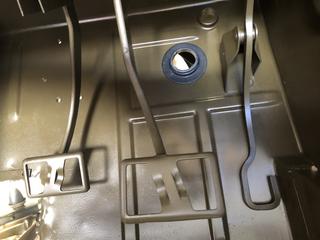
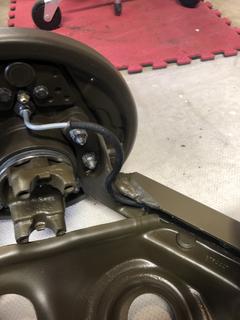
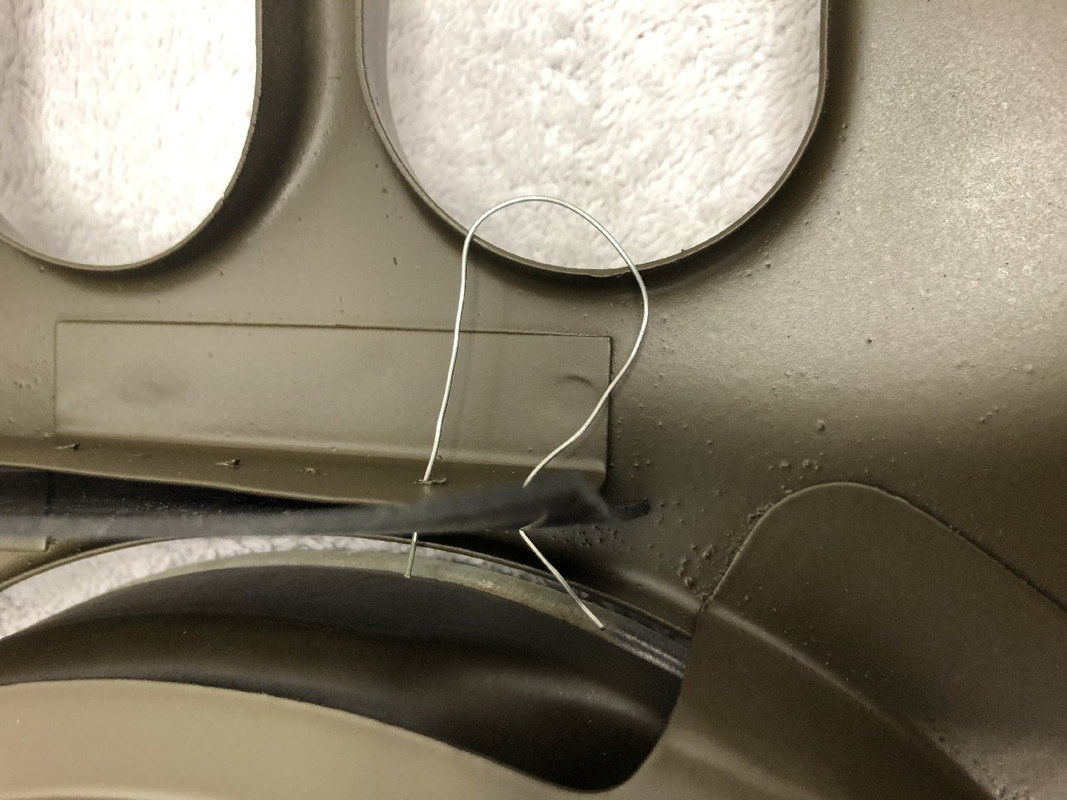
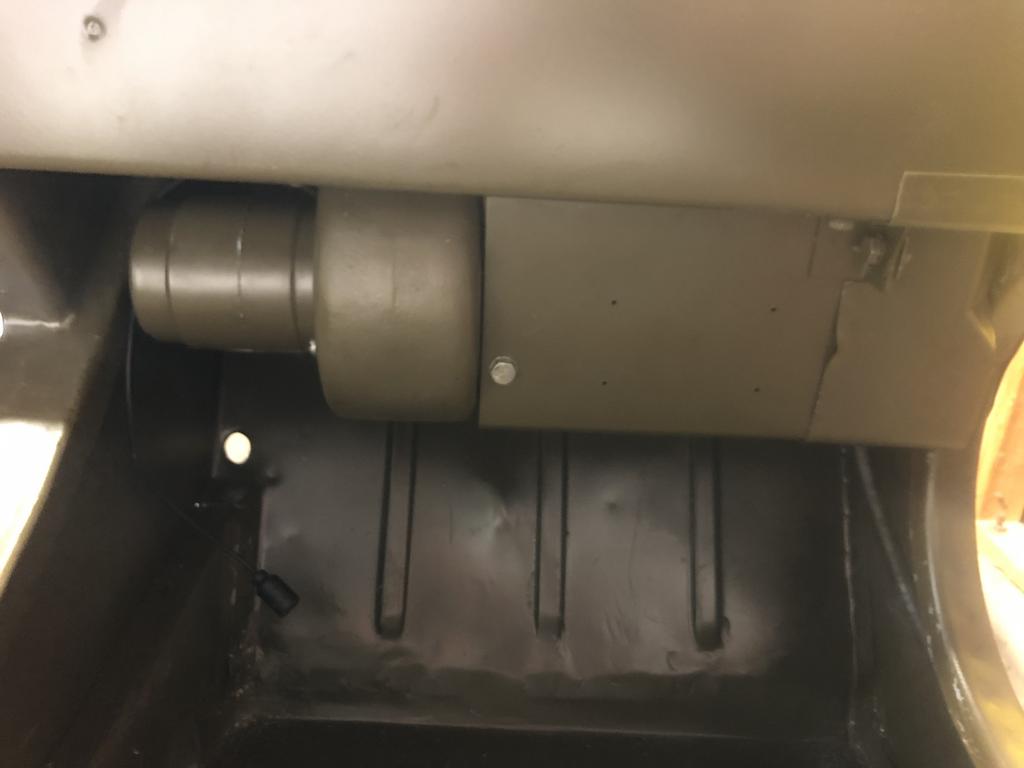
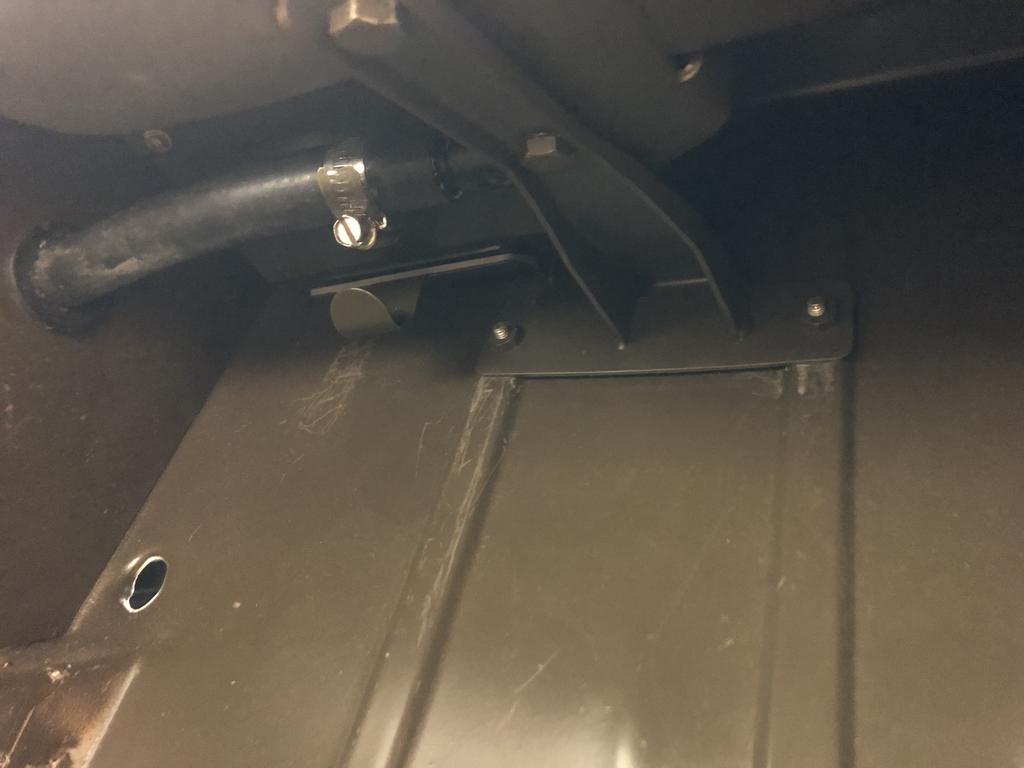
After drilling the holes I unmounted the heater and then hooked up the passenger side distribution box, and the pass side defroster hose. I poked both of the water lines through the grommets in the body just a bit to facilitate hooking them up after I bolted the heater in. The first time, I tried pre-installing the hoses and snaking them through the body while installing the heater, but I just didn't have enough clearance (or hands) to make that work.
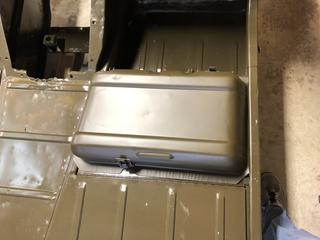
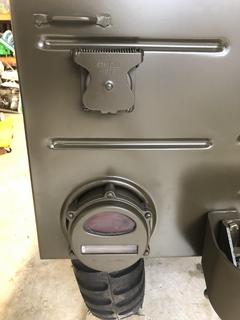
In the end, she fit right in and the hoses easily fit on.

The driver's side distribution box and defroster required a bit more contortion of my body, but were still not as awful as I'd imagined.
It's all plumbed in now, just need to do the electrical part of it as the last step.